Make 3D Dungeon Tiles for $1
Upgrade from that plain beige battlemat to some nice looking dungeon tiles that'll really make your dungeons pop up from the table. This is a great starter project for crafting your own terrain, and it's easy to move on from this to all sorts of different terrain, scatter, and even your own models. Plus this is something you're going to use all the time, so the effort-to-value you'll get from it is unmatched.

You can get 2 ft square of pink rigid foam at your local hardware store for around $5. If you're going to be doing a lot of foam crafting you can get 4ft x 8ft for around $20 which is more economical. For this project you're going to want a 10x10 inch piece, a 6x6, around five 3x3 pieces, at least two 2x4 pieces, and two 1x2 pieces for a total of around 200 inches of area, or a little less than $1 worth of foam. You could even get this for free if you went to a construction site and asked for their scrap foam.
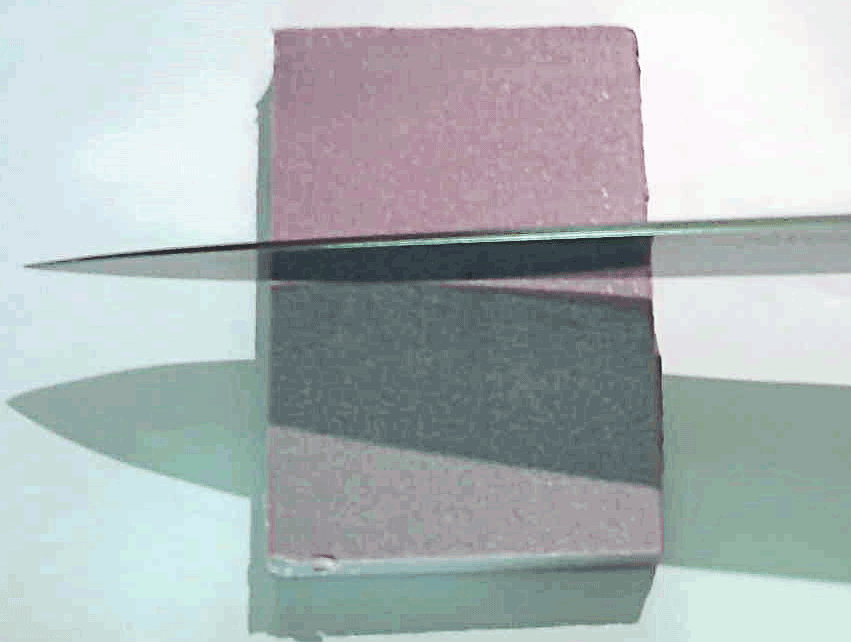
To cut the foam you can use a sharp kitchen knife, utility knife, or an x-acto knife. You can either cut straight through the foam (use sawing motions, don't just push), or cut a line along the foam (scoring it) and snap the piece off.
You'll also need some aluminum foil, the stuff in your kitchen that you wrap leftovers in. Take about as much as you'd use to wrap up a sandwich. If you don't have any aluminum foil then go have gyros one day for dinner or lunch and keep the foil they wrap it in. That's a free prize found outside.
The last thing you'll need is paint and a small brush. You can get a pack of craft paints with brush off amazon for around $10, but you can get a much better price if you visit your local dollar store and get some cheap paints there. Garage sales and thrift stores will also often have paint for cheap. Any acrylic paint will do, really. If you've got an old can of paint from painting the walls that will work. This will potentially put your upfront costs higher, but no matter what paint you find you're going to have some left over for future projects, so don't feel like you have to get the expensive stuff. In a pinch, just leave them unpainted.
You're going to need black paint (as a base coat) and then ideally two shades of grey, one dark and one light. Any ratty old brush will do, and in fact it's ideal since you're going to be dry-brushing. You can also use some white paint as highlights if you like, but don't go overboard. If you get some cheap paint and a brush for $5 or less than the amount of paint you'll be using will be a couple cents worth. That's cheap enough that someone at your school, office, or game store may just let you have some of theirs.
To start, measure out your pieces. Each square will be an inch, which is the standard size for most miniatures. If you're making a 3x3 piece, then measure out a 3 inch by 3 inch square on the foam and use a pen or pencil to mark your lines. Don't worry too much if your corners aren't exactly 90 degrees, these are going to look like rough and worn stone tiles when you're done. Once you've marked out your shape take your knife and cut out the square.
With your piece cut out, then the next step is the grid. Measure along the edges of the foam and put a mark every 1 inch. Once you've made all your marks, connect up your lines so you have a 1 inch grid on the face of the foam. If it's a 3x3 piece then you'll have 9 squares in all. Then with just the tip of your blade you're going to make a shallow cut along the lines, don't cut all the way through. Just a quarter of an inch or less. Then take your pencil or pen and push it down into the small groove and drag it along the line. Do this for all the lines and you'll have visually distinct tiles that pop. Also score down the sides of the foam so it looks like these are each individual blocks that someone placed.

If you want a little extra detail you can add some cracks along the surface of the stone. Just jam your pen or pencil into the foam (it's soft enough you can do this without scoring with a knife) and make a jagged line across the tile. The worse it looks, the better. These will be cracks formed in the stone from years of neglect. It's a nice little detail that makes your dungeons seem old and run-down. Don't go overboard with the cracks and try to avoid any obvious patterns, you'll find that less is more when it comes to little details like these.
Finally, there's a simple technique to transform this smooth foam into hewed stone. Take your aluminum foil and bunch it up into a ball, as tight and compact as you can get it. Then just press and roll the aluminum foil all over the foam. The texture of the foil will dig into the soft foam and leave an imprint on the surface similar to that of stone. Easy!

To paint your tiles, first cover the whole thing in black paint and let it dry. You might need to do an additional coat or two until there's no more pink showing through. To do the dry-brushing start with a clean, dry brush. Then put just a liiiittle bit of the dark grey paint right on the edge of the brush and wipe almost all of it off on some toilet paper or scrap paper. You'll need much less paint than you think. Gently drag the brush over the tiles, trying to hit only the highest points. Press harder as needed, but always be gentle at first. You should end up with something like this, a mix of black and grey tiles with black in the grooves. Let this dry.

To add highlights, use the light grey paint and dry-brush just the edges. Be careful not to overdo it here, it takes just a little bit of paint to really make it pop, and if you add too much paint over too much of the tile then you'll lose your definition. If you mess up you can dry-brush over the highlights with your dark grey paint and try again. If you want to add even more highlights with white you can do a third pass, but be careful to add very very little. You'll only need a tiny amount even compared to the tiny amount you already used.

That's it! You're done. Some people like to put a clear-coat of polyurethane to protect the tiles, but these are so cheap, easy, and durable that I don't really bother. Any scratches they might suffer just make them look better, and if any of the paint wears off you can easily dry-brush on some more. Repeat the process for any size or shape of tiles you might need and you'll have a full set of professional looking dungeon tiles that will really impress.
Need more help with your campaign? Check out all the other tools, generators, and articles: https://www.kassoon.com/dnd/
Shout outs: Stacey, Alexa Hobusch, Jonathan Lekse, DMMichael7000, Ofelia Greer, Katie White, Subzotic, JollyGamer, Jayden wingler, Yi Tan, Phillip Brewer, Thoueris Zanzibar, Emma Holloway, Ashley Sullivan, Ghostfang1337, Gillian Tolbert, David R Abbott, S.T. Jenkins, Schoxmania Werks, Vanda Leipold, Brittany DeNicholas, Phillip Hash, Ly Anton-Blake, Amanda Kettles, Anthony Brown, Lou Bliss, Treighton, Pythor Sen, myrontheotter, Kassie Nicovara, Michael Isberg, Nat, Cory Evans, Krueger82, BestWorseCaseScenario, Damian Steele, Icarus Unleashed, Mark L, Lj Nielson, Conall Reilly, Alex, Violet Floyd, keith oneal rogers, Moss, William Bamann, Merissa, Patrick Natale, Cam Largent, Thaddeus Johnson, Siren, Donavan Guay, AstroLass, Jack Stevens, Chandlor Desper, Lizzie, Masca Boom, Jordan, Rincewind, Michael Hamilton, Rob Hale, Vedie V, Mylon Schroder, Nathan, Tiffany Mathis, Joseph Mitchell, Jordan Florez, Robert Rich, Robin Ellis-Foster, Deanna Pyle, Jess, Meme Pitt-Melton, E.D.F., Zee Livezey, Kevin, ryan scott, Christianna Schommer, Kerry Melton, Mary Kieser, SallySparrow132, Lunesolace, DJ_Kelf, Cassandra Keyes, Naomi B, Millergendraft, charles phillips, Nick Soucy, Ellen Mitchell, Melanie Warga, Jeremiah Walker, Bryan Kempka, chris wilson, Max Hops, Sarah Holland, Joshua David Maddox, Jennifer Smith, Ray Bissonnette, Joe Dalby, Nicholas Zamora, Yuki, ShortyMcgibble, mtnman1979@aol.com, KFB_Patreon, eric sun, Bruce Willison, Gundar Wez, Ken Shapiro, Matthew payne, Jacob Plummer, Nahellion, Serena Verden, bilbens baggo, Stuart, Brysen Packer, Galygious, Tim Mason, Maxwell Mayer, Gannon Dubay, Thobek, Aaron Teupe, Celso R Garcia III, Felix Schmäche, XMrMonkyx ., John, Miss Zilla M, RRare, Jordan Brazeal, Kyle Clark, Jake Lane, Adam Ruiz, Phillip P Torchia, Natalie Luttrell, Stefan Gottschalk's, Remora's Jewel, Dawnwolf, Buffonturtle, Christina Majchrzak, jeremy baisch, Ivee Quinn, Zealot23, Shane Andrews, CJMAXP, Chevy Jones, KingHavok1217, Shazear, Curran Vallejo, Steve Rosenlund, Leanna Orr, Ezzela1891, John Nazario, Gary, Gordon Alexander Fallon, Jason Clark, Trey Vickory
Their contribution stands as a beacon of hope for all adventurers!

